
Customizing Marlin Firmware Advanced 3D Printing Techniques
So, you’re ready to go beyond the basics with your 3D printer, huh? That’s awesome! Customizing Marlin firmware can feel like stepping into a whole new dimension of control and precision. It’s about making your printer an extension of your creative vision, fine-tuned to your exact needs. It might sound intimidating at first, but trust me, the journey is incredibly rewarding.
Why Bother Customizing Marlin Firmware?
Let’s be real. Out-of-the-box settings are okay, but they’re rarely perfect for *your* specific setup and the types of prints *you* want to create. Customizing Marlin lets you:
- Fine-Tune Print Quality: We’re talking about smoother surfaces, sharper details, and fewer imperfections.
- Optimize for Unique Materials: From flexible filaments to high-temperature exotics, different materials need different settings.
- Enable Advanced Features: Mesh bed leveling, linear advance, custom G-code commands – the possibilities are huge!
- Personalize Your Workflow: Make your printer work *for* you, not the other way around.
Think of it like this: buying a suit off the rack versus getting one tailored. Yeah, the off-the-rack suit will *sort of* fit, but a tailored suit? It’s like a second skin, perfectly molded to *you*. That’s what customizing Marlin firmware does for your 3D printer.
Understanding the Basics: What Is Marlin Anyway?
Okay, let’s break it down in plain English. Marlin is the “brain” of your 3D printer. It’s the firmware – the software – that controls all the motors, heaters, sensors, and everything else. It takes your G-code instructions (the language 3D printers understand) and translates them into physical actions. Essentially, Marlin says, “Okay, move this motor this much, heat up that nozzle to this temperature, and so on.”
Many 3D printers come with Marlin pre-installed, but the beauty of it is that it’s open-source. This means the source code is freely available, and you can modify it to your heart’s content. The Marlin project operates on GitHub, which is where all the magic happens. You can find the official Marlin firmware repository here.
It’s a bit like having the source code to your favorite video game. You could just play the game as is, or you could dig into the code and mod it to create something totally unique. Cool, right?
Setting Up Your Development Environment
Alright, time to roll up your sleeves and get our hands dirty. To tweak Marlin, you’ll need a few things:
- A Computer: Obviously! Windows, macOS, or Linux – all work fine.
- Visual Studio Code (VS Code): A free, powerful code editor. Get it here. Trust me, it’s worth it.
- PlatformIO IDE Extension for VS Code: This is what lets you compile (translate) the Marlin code into something your printer can understand. Think of it as the Rosetta Stone for 3D printers. Install it from within VS Code.
- The Marlin Firmware Source Code: Download the latest version from the Marlin GitHub releases page. You want the “Source code (zip)” file.
Once you have these installed, open the Marlin folder in VS Code. VS Code will automatically detect the PlatformIO project and start indexing the files. This might take a few minutes the first time, so be patient.
You might be thinking, “Ugh, this sounds complicated.” Honestly, the initial setup is the trickiest part. Once you’re past this, it’s mostly just tweaking settings in configuration files.
Configuration.h and Configuration_adv.h: Where the Magic Happens
These two files are the heart of your Marlin configuration. They’re where you define all the important settings for your printer, like:
- Printer Model: What kind of printer do you have? (e.g., Ender 3, Prusa i3, custom build)
- Motherboard: Which control board are you using? (e.g., SKR Mini E3, MKS Gen L)
- Motor Driver Settings: Microstepping, current limits, etc.
- Temperature Sensor Types: What kind of thermistors or thermocouples do you have?
- Bed Size: How big is your print area?
- And a whole lot more!
Configuration.h contains the most commonly used settings, while Configuration_adv.h has more advanced options. Don’t worry, you don’t need to understand every single line of code. Start with the basics and gradually explore more advanced features as you get comfortable.
Here’s the thing: These files are *long*. Like, really long. Use the search function (Ctrl+F or Cmd+F) to find the settings you’re looking for. Comments in the files will often explain what each setting does.
Key Configuration Parameters to Tweak
So, where should you start? Here are some key parameters to consider:
DEFAULT_AXIS_STEPS_PER_UNIT: This determines how many steps your motors need to take to move a certain distance (e.g., 1mm). Calibrating this is crucial for accurate prints.DEFAULT_MAX_FEEDRATE: Sets the maximum speed your printer can move in each axis. Don’t set this too high, or you’ll get skipped steps and poor print quality.DEFAULT_MAX_ACCELERATION: Controls how quickly your printer accelerates to its target speed. Higher acceleration means faster prints, but it can also lead to vibrations and ringing artifacts.#define AUTO_BED_LEVELING_BILINEARor#define AUTO_BED_LEVELING_UBL: Enables automatic bed leveling (ABL). This compensates for slight imperfections in your bed surface, ensuring a perfectly level first layer. UBL (Unified Bed Leveling) is generally considered more advanced and powerful.#define LINEAR_ADVANCE: This feature reduces oozing and stringing by dynamically adjusting the filament flow rate based on the printer’s speed and acceleration. It can significantly improve print quality, especially with flexible filaments.
Remember, changing these values can have a big impact on your print quality and printer performance. It’s best to make small changes and test them thoroughly before making any drastic adjustments.
Compiling and Uploading the Firmware
Once you’ve made your changes to Configuration.h and Configuration_adv.h, it’s time to compile and upload the firmware to your printer.
- Connect your printer to your computer via USB.
- In VS Code, click the PlatformIO “Build” button (the little checkmark icon). This will compile the Marlin code and create a
.binfile (the firmware image). - If the build is successful, click the PlatformIO “Upload” button (the arrow icon). This will flash the firmware to your printer’s control board.
If everything goes smoothly, your printer will restart, and you’ll be running your customized Marlin firmware! If you encounter errors during the build or upload process, double-check your configuration settings and make sure you have the correct board selected in PlatformIO.
Sometimes, things don’t go as planned. Don’t panic! Google is your friend. Search for the error message you’re seeing, and you’ll likely find someone else who has encountered the same problem and found a solution.
Advanced Techniques: Mesh Bed Leveling and Beyond
Okay, now for the fun stuff! Once you’ve got the basics down, you can start exploring some more advanced features:
- Mesh Bed Leveling: Creates a detailed map of your bed’s surface, allowing the firmware to compensate for even the slightest imperfections. This is a game-changer for large prints or printers with warped beds.
- Linear Advance: As we discussed earlier, this reduces oozing and stringing. It requires careful calibration, but the results are well worth it.
- Custom G-code Commands: You can define your own G-code commands to automate specific tasks or add custom functionality to your printer. For example, you could create a command to automatically change filament or run a bed cleaning routine.
- PID Tuning: PID (Proportional-Integral-Derivative) tuning optimizes the temperature control of your hot end and heated bed. This ensures that your printer maintains a stable temperature, even when printing at high speeds or with demanding materials.
These techniques can significantly improve your print quality and give you more control over your 3D printer. However, they also require a bit more technical knowledge and experimentation.
Troubleshooting Common Issues
Let’s face it: things don’t always go according to plan. Here are some common issues you might encounter and how to fix them:
- “My printer won’t connect to my computer!” Make sure you have the correct drivers installed for your control board. Also, double-check your USB cable and port.
- “The firmware won’t compile!” This is usually due to errors in your
Configuration.horConfiguration_adv.hfiles. Carefully review your changes and look for typos or syntax errors. - “My prints are coming out warped or uneven!” This is often a sign of poor bed adhesion or an unlevel bed. Try cleaning your bed with isopropyl alcohol, using a brim or raft, or enabling automatic bed leveling.
- “I’m getting a lot of stringing or oozing!” This could be due to incorrect temperature settings, retraction settings, or linear advance settings. Experiment with different parameters until you find the sweet spot.
The 3D printing community is incredibly helpful. Don’t be afraid to ask for help on forums, Reddit, or other online communities. Chances are, someone else has encountered the same problem and can offer guidance.
Resources and Further Learning
Want to delve deeper into the world of Marlin firmware?
- The Official Marlin Documentation: This is the definitive guide to all things Marlin. It’s a bit technical, but it’s packed with information.
- The Marlin Firmware GitHub Repository: Explore the source code, report bugs, and contribute to the project.
- 3D Printing Forums and Communities: Share your experiences, ask questions, and learn from other users.
- YouTube Tutorials: There are tons of great YouTube videos that cover various aspects of Marlin firmware customization.
Customizing Marlin firmware can be challenging, but it’s also incredibly rewarding. It gives you a level of control and precision that’s simply not possible with out-of-the-box settings. So, dive in, experiment, and have fun! And remember, the 3D printing community is always there to help you along the way.
FAQ: Your Questions Answered
DISCLAIMER
The information provided in this article is for informational purposes only. Customizing Marlin firmware can be complex and may void your printer’s warranty. Always proceed with caution and at your own risk. Back up your original firmware before making any changes. The author and publisher are not responsible for any damage or issues that may arise from following the instructions in this article.
Categories
- 3D Printer (517)
- Automatic Mugs (426)
- Cleaning Appliances (504)
- Electric Bikes (214)
- Electric Scooters (456)
- Electronic Gadgets (183)
Archives
About Team Ibuyem
View all posts by Team IbuyemProduct Gallery
-
Meian Smart Home Doorbell Wireless Security Doorbell IP65 Waterproof Outdoor Door Bell 60 Songs 5 Volume Adjustable Chime Kit
Rated 4.79 out of 5$16.00 – $32.00Price range: $16.00 through $32.00
-
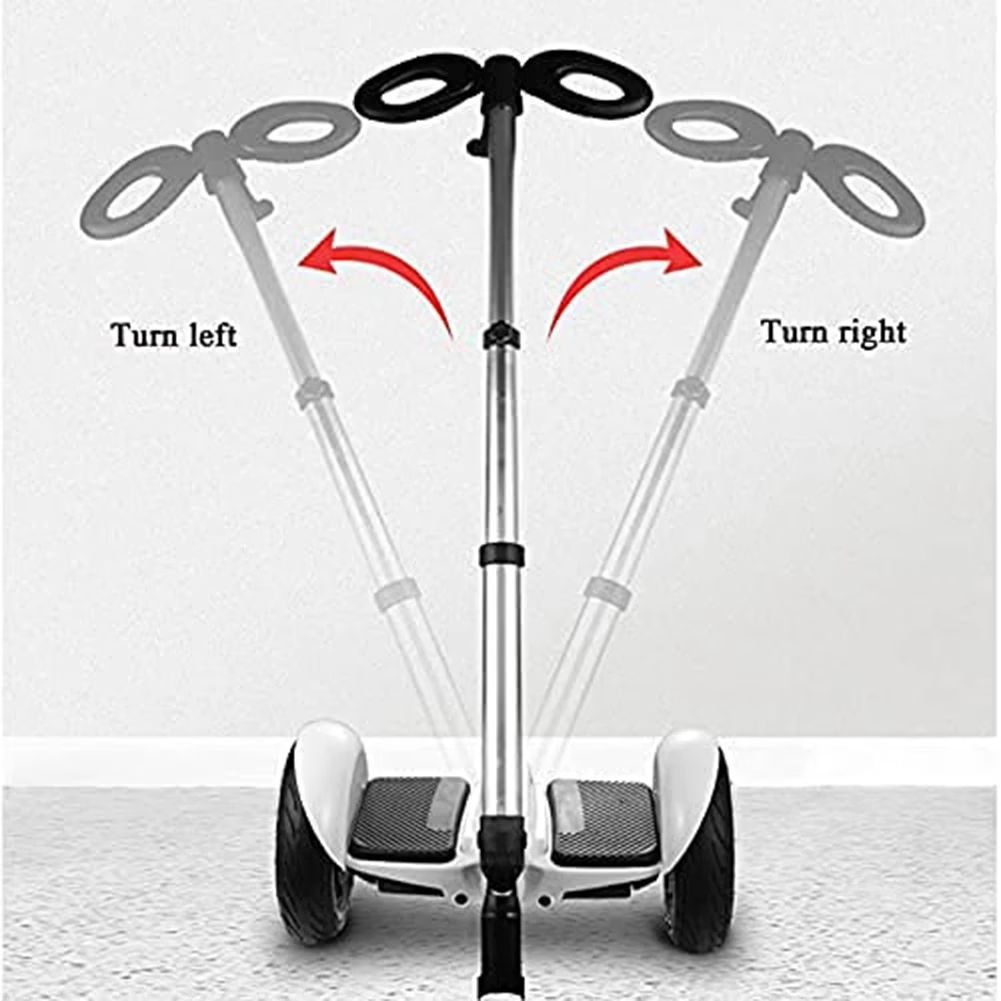 ABHS-Handlebar Suitable For Segway Ninebot Minipro Minilite Hoverboard Adjustable Three-In-One Function Pressure Handle
Rated 2.40 out of 5
ABHS-Handlebar Suitable For Segway Ninebot Minipro Minilite Hoverboard Adjustable Three-In-One Function Pressure Handle
Rated 2.40 out of 5$111.00Original price was: $111.00.$78.00Current price is: $78.00. -
Fragrance Machine Aroma Diffuser Electric Scent Diffuser Nebulizer For Car Air Fresheners Diffuser Essential Oils Vaporizer
Rated 4.93 out of 5$65.00 – $66.00Price range: $65.00 through $66.00


 Robot Vacuums
 Steam Cleaner
 Window Robots
 Self Stirring Mugs
 Self Heating Mugs
 Air Purifier
 Dehumidifier
 Diffuser
 Humidifier
 Panoramic Camera
 Solar Camera
 Window Door Sensor
 Baby Monitor
 Small Cameras
 Electric Bike
 Electric Bike Motor
 Electric Scooter
 Electric Skateboard
 Hoverboard
 3D Printers
 3D Printer Filament

Recent Comments